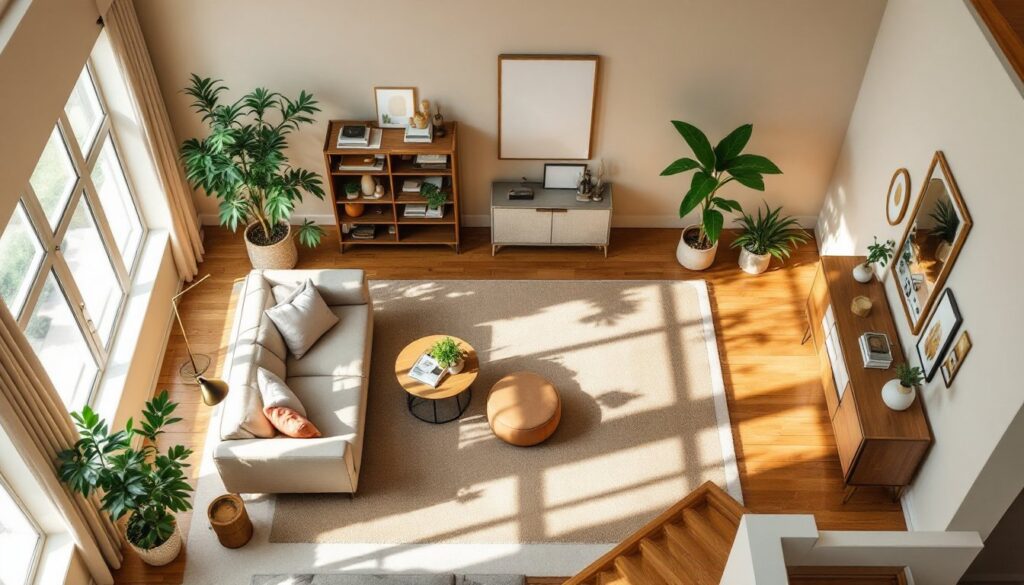
Your living room walls are a blank canvas waiting for personality. Whether you’re working with a tight budget or ready to invest in a statement renovation, there are proven ways to refresh your walls without tearing into major construction. This guide covers practical, implementable creative living room wall decor ideas, from gallery walls and accent walls to floating shelves and textured treatments. Each approach is broken down with real steps, material specifics, and honest talk about what takes an afternoon versus what requires planning. Let’s transform those walls into something you’ll actually love walking past every day.
Table of Contents
ToggleKey Takeaways
- Gallery walls tell a personal story by mixing frames in odd numbers (5, 7, or 9) with consistent finishes and proper spacing of 2–3 inches between frames for a polished creative living room wall decor display.
- Accent walls transform a room’s mood quickly by choosing the wall you see first upon entry and using sample swatches tested in multiple lighting conditions before committing to paint color.
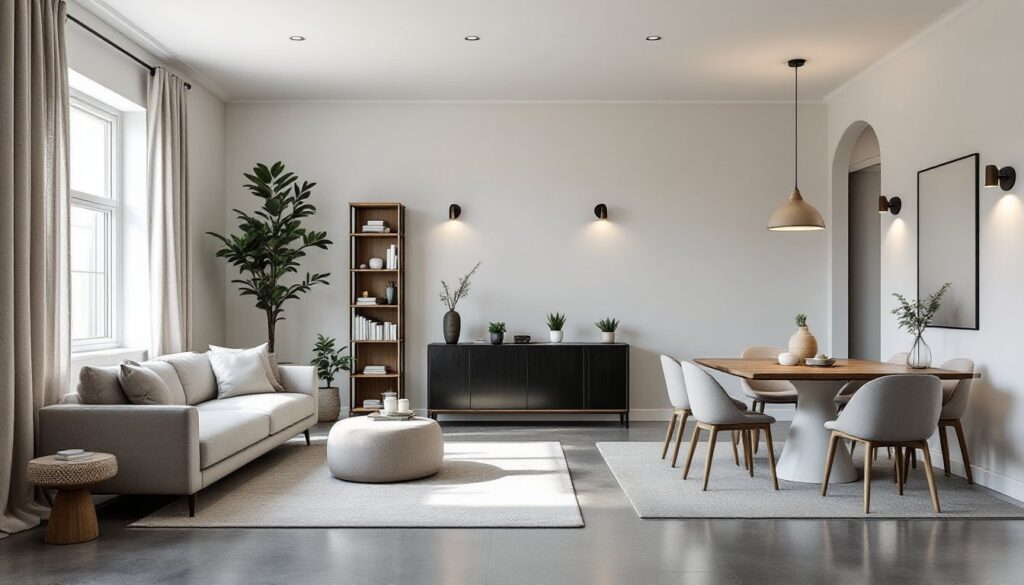
- Floating shelves require studs, heavy-duty brackets rated 25 pounds or more, and shelves at least 1.5 inches thick to handle weight safely without sagging or requiring overcrowding.
- Textured wall treatments like wallpaper and 3D panels add depth without floor space consumption, though shiplap requires framing expertise while removable wallpaper works best on smooth, temporary applications.
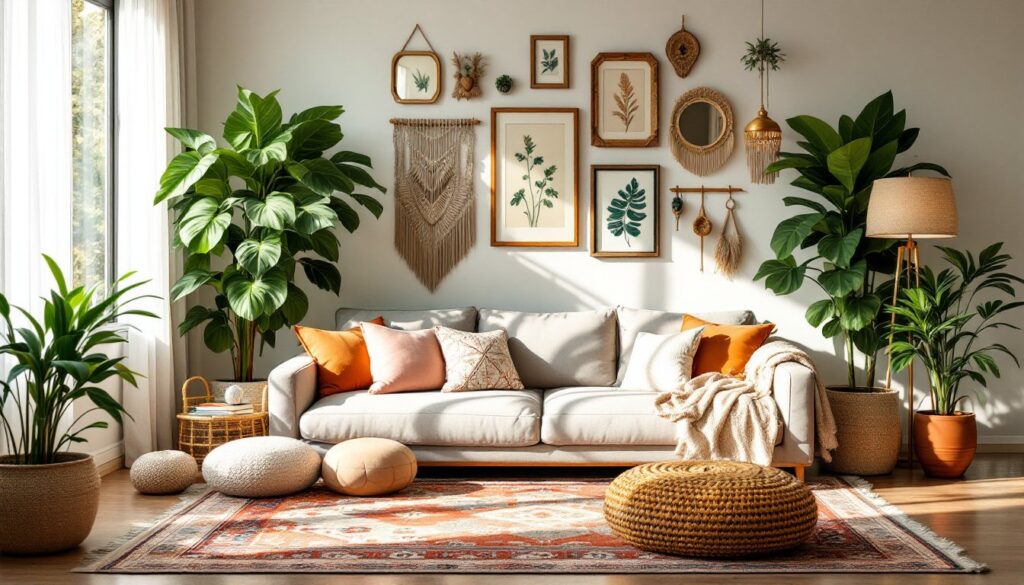
- Living walls and botanical displays bring nature indoors through vertical gardens, hanging planters, or lightweight faux plants arranged in odd groupings, though real plants require consistent watering and drainage planning.
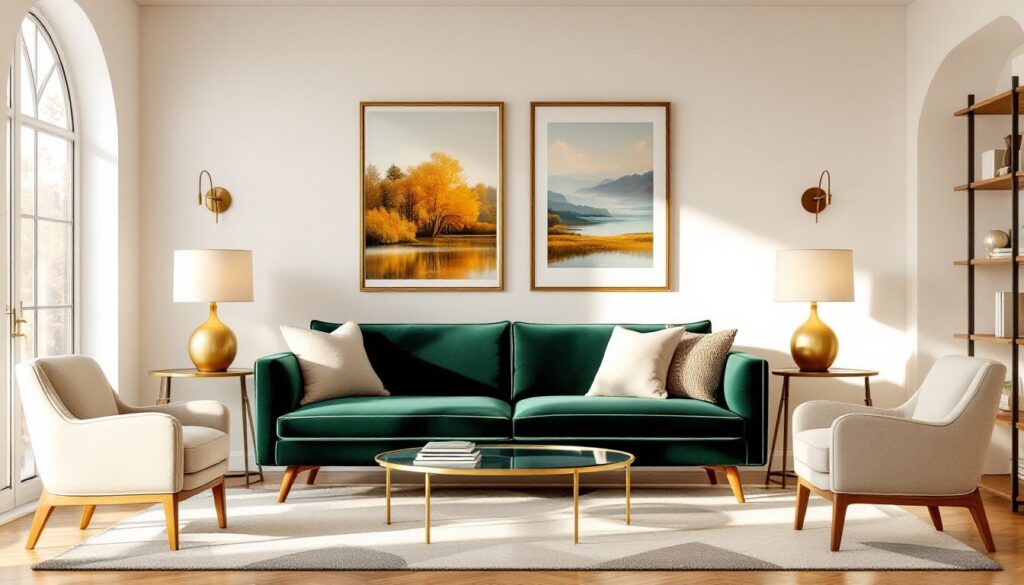
- Metal and wood elements create intentional contrast by pairing finishes—such as matte black metal with natural wood or warm brass with honey-toned shelving—to anchor rooms with character and warmth.
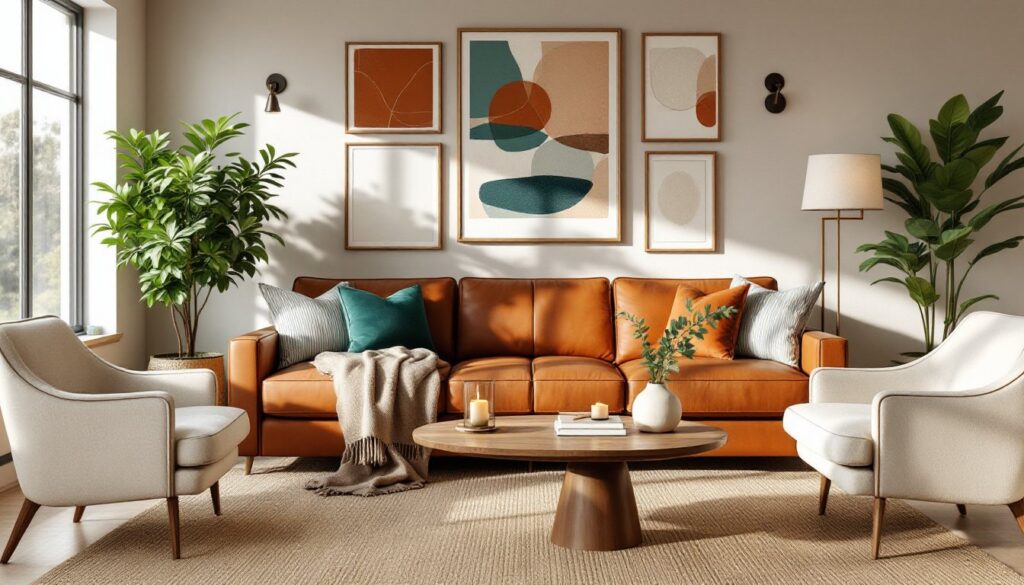
Gallery Walls: Curating a Personalized Art Display
A gallery wall works because it tells a story. Instead of one oversized print, you’re creating a curated collection that reflects who you are. Start by gathering your frames, mix sizes and styles, but keep the finish consistent (all black, all wood, or all metal). Odd numbers look better than even, so aim for 5, 7, or 9 frames.
Lay everything on the floor first and photograph it. This gives you a map before driving nails. Measure from the center of the wall outward: most designers hang the center of the collection at eye level, around 57 to 60 inches from the floor. Use a stud finder to locate wall studs if you’re hanging heavy pieces, and use appropriate wall anchors if you’re mounting between studs, toggle bolts or heavy-duty anchors work better than plain drywall anchors for larger collections.
Print your photos at consistent quality: matte finishes hide fingerprints better than glossy. Mix photography, art prints, and even textile pieces for visual interest. Formal living rooms showcase elegant gallery arrangements that elevate even modest homes. Spacing between frames should feel intentional, roughly 2 to 3 inches is a good rule, but tighter is fine if your collection leans modern.
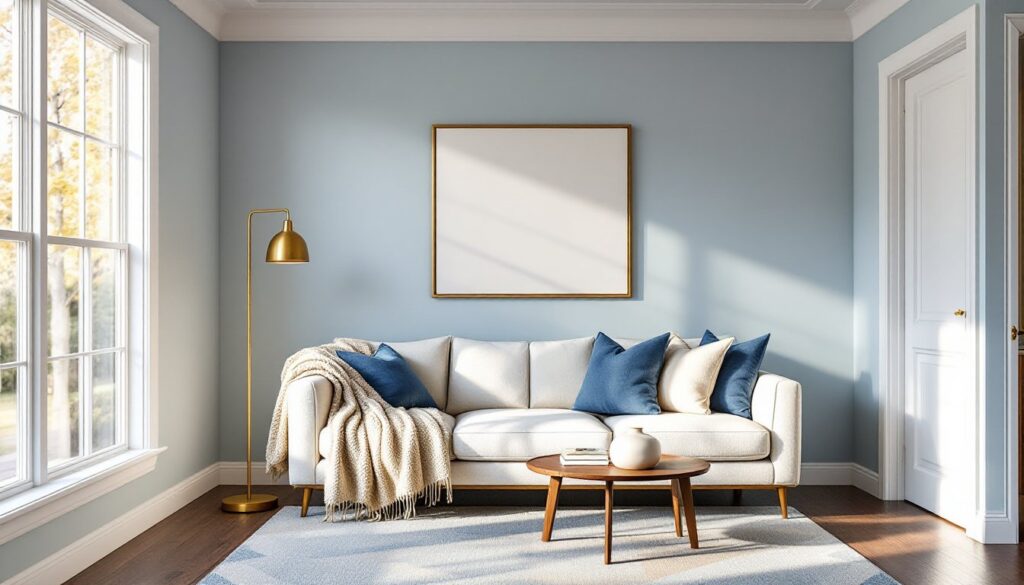
Accent Walls: Color and Pattern Strategies That Make an Impact
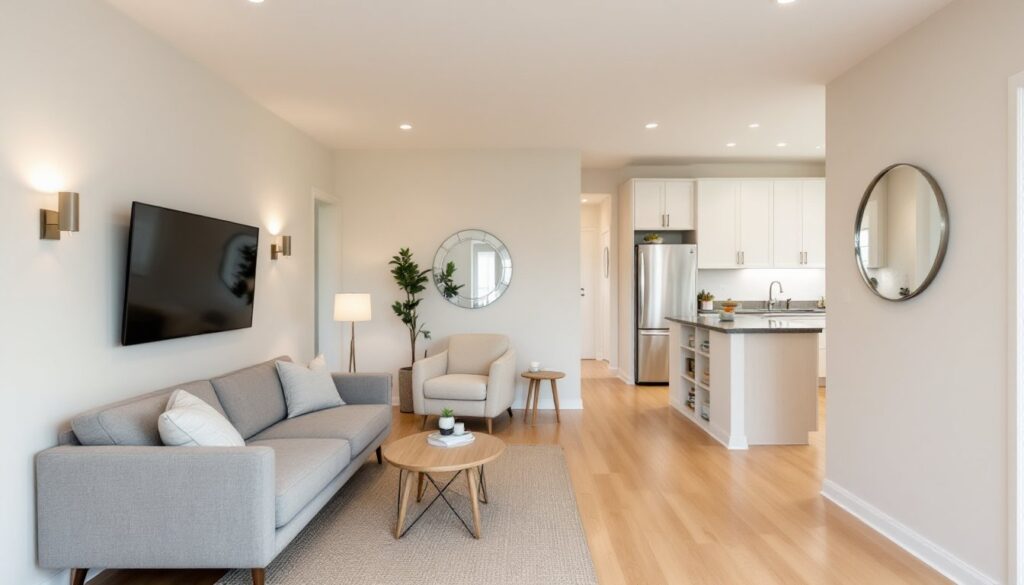
An accent wall is the fastest way to change a room’s mood. Pick the wall you see first when entering, usually behind a sofa or opposite a doorway. Before painting, prep is everything: sand any glossy finish lightly with 120-grit sandpaper, fill holes with spackling compound, and prime with a quality primer if you’re going dark or covering glossy paint.
Choose your color carefully. Colors for living rooms should balance the room’s lighting and existing furnishings. Test your color in multiple lighting conditions, what looks moody in daylight may feel heavy at night. Buy sample pints and paint large swatches on poster board, moving them around the room throughout the day.
For paint application, use a quality roller and brush combo, cheap rollers leave stipple texture. Two coats is standard: wait 24 hours between coats. If you’re choosing pattern, wallpaper, stenciling, or shiplap, expect more complexity. Wallpaper requires level walls and smooth surface prep. Shiplap requires studs, underlayment, and nailing, not a weekend project unless you’re skilled.
Floating Shelves: Functional Decor That Maximizes Vertical Space
Floating shelves look seamless because the bracket is hidden inside the wall. They work best for lighter decorative items, not heavy book collections. You’ll need a stud finder, 16-inch wall studs (standard framing), a level, and heavy-duty shelf brackets, aim for brackets rated 25 pounds or more per shelf.
Locate two studs, mark them at the same height using a level, and mount your brackets into the studs with appropriate fasteners (3-inch wood screws minimum). The shelf itself slides over the brackets: look for shelves at least 1.5 inches thick to look proportional and handle weight without sagging.
Style shelves with odd numbers of objects: a vase, a few books, a small plant. Avoid overcrowding. If you’re displaying heavier items or book collections, brackets on every 16 inches matters, don’t space them wider than 24 inches. Floating shelves appear in living rooms with area rugs as layered styling anchors, creating both function and visual warmth.
Textured Wall Treatments: Shiplap, Wallpaper, and 3D Panels
Textured finishes add depth and dimension without consuming floor space. Shiplap, horizontal wooden boards with overlapping edges, is popular but involves framing, underlayment, and finishing. If studs aren’t exposed, you’ll need to add a furring strip frame and prime/paint the finished boards. This isn’t a casual weekend project.
Wallpaper is faster. Modern peel-and-stick varieties exist, but traditional wallpaper requires smooth, primed walls, a scoring tool for seams, and good humidity control during installation. If walls are uneven, wallpaper will show every bump. Removable wallpaper works on smooth surfaces but tears easily, use it as temporary decor, not permanent.
3D wall panels (decorative plasterboard pieces) mount directly to drywall with appropriate adhesive or fasteners. They create shadow and light play without structural work. Paint them the same as the wall for subtle texture, or a contrasting color for drama. Stack them in geometric patterns or cover a full wall. Expect $30–$200+ per panel depending on material and size. Young House Love readers share budget-friendly texture techniques that deliver impact without major renovation costs.
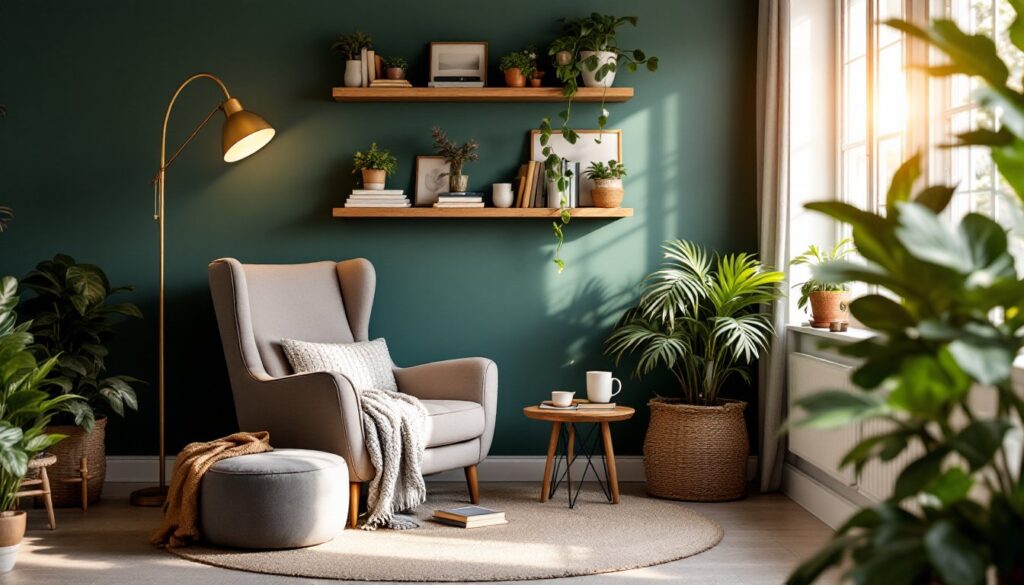
Living Walls and Botanical Displays: Bringing Nature Indoors
Living walls (or green walls) are vertical gardens, real plants mounted directly on walls. They’re stunning but require setup: a backing system (typically felt or modular pockets), proper drainage planning, and consistent watering schedules. Most need indirect light and humidity control.
For easier botanical displays, mount individual planters, hanging macramé holders, or floating shelves holding potted plants. Arrange in odd groupings, 3, 5, or 7 plants at varying heights. Use lightweight faux plants if real ones feel overwhelming, but acknowledge the visual difference.
If you’re hanging real plants, consider a plant hanger bracket rated for the weight of the pot plus soil plus plant. Test with a water weight equivalent before hanging anything. Water sources matter: ensure runoff won’t damage walls, flooring, or furniture below. Christmas living rooms integrate greenery displays that bring warmth and natural texture to holiday and everyday spaces.
Metal and Wood Elements: Adding Warmth and Industrial Style
Metal and wood create contrast, industrial meets rustic. Reclaimed wood frames, steel shelving, or wrought-iron wall sconces anchor a room with character. Metal accents (copper, black steel, brass) reflect light and add sophistication: wood (dark walnut, light pine, live-edge) brings organic warmth.
Wall-mounted metal art, wooden floating shelves, or metal ladder shelves combine function and style. Ladder shelves lean against walls, no studs required, and hold decor without permanent mounting. They’re flexible for renters but less stable than anchored shelves. Wood wall panels or cladding (like shiplap or board-and-batten) can be painted to match your palette.
Mix finishes: matte black metal with natural wood, or warm brass with honey-toned shelving. The key is intentional pairing, not random scatter. Pictures of wood floors that tie rooms together cohesively. Rough textures and smooth finishes balance each other.
Conclusion
Your living room walls don’t need to stay blank or boring. Whether you choose a gallery wall’s personality, an accent wall’s drama, floating shelves’ function, or textured treatments’ depth, these ideas are achievable with straightforward tools and a little planning. Start with one wall, measure twice, and don’t skip prep work, it’s where most mistakes happen. Your future self will thank you for patient execution. Transform those walls into a space you’re genuinely proud to call home.